
Connect a Marketo account to the Atomic Reach platform.
Before you begin the integration, you'll need to meet two requirements:
To set up the integration, you'll need to create an API-only user role, add a new service, and enter three Marketo IDs into your Atomic Reach account.
These processes are detailed below:
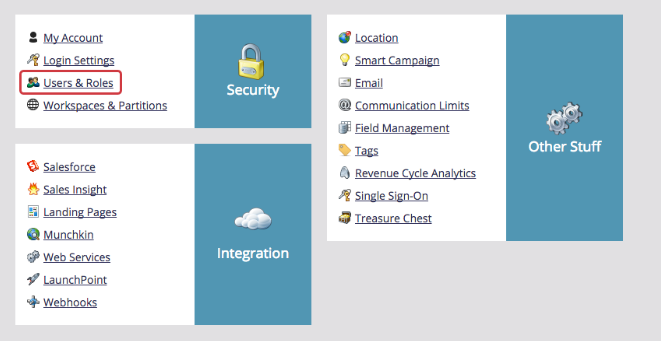
1. Navigate to Admin inside Marketo

2. Click Users & Roles
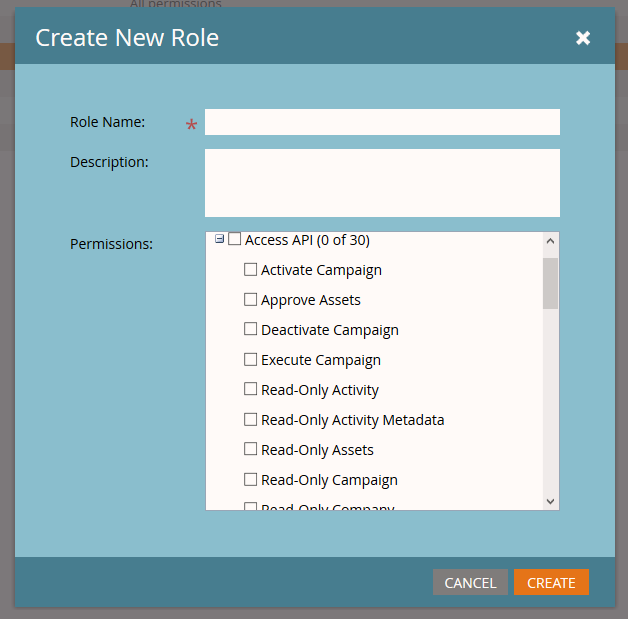
3. Select the following permissions (Read Only Activity and Read-Write Assets)
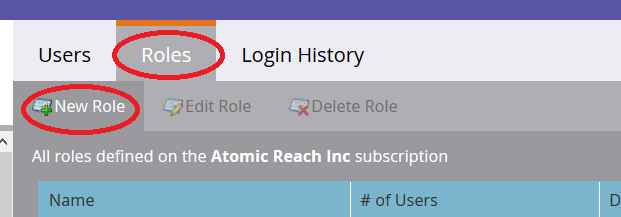
4. Click Invite New User

5. Fill out the personal information for the new user, including First Name, Last Name and Email
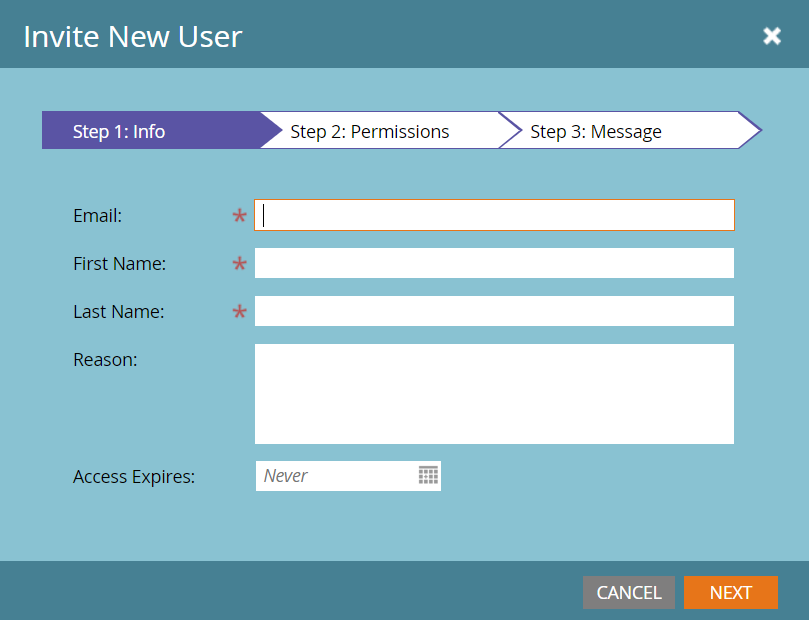
6. Select the API that you created in the previous step for the new user role.
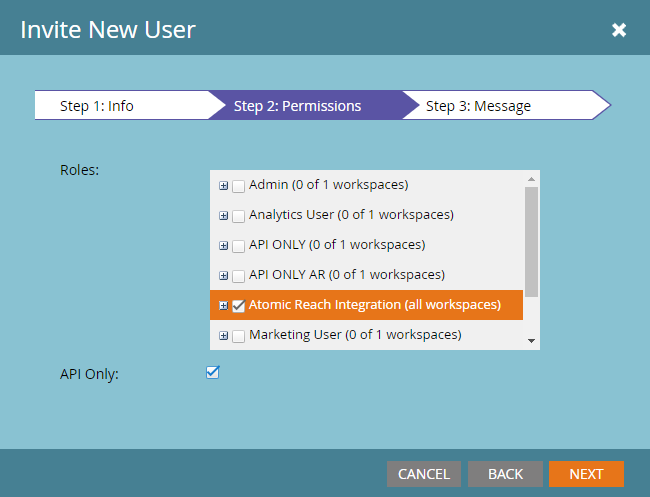
7. Click Send
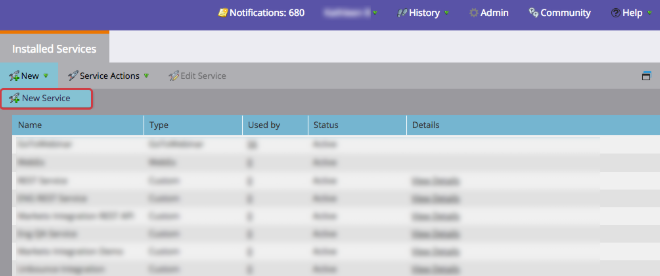
1. Navigate to Admin in Marketo

2. Click LaunchPoint

3. Next click New and then New Service
4. Give the New Service a Display Name and select Custom from the Service dropdown options. Include a Description for your New Service and select an API-Only User that we created in step one from the dropdown options.
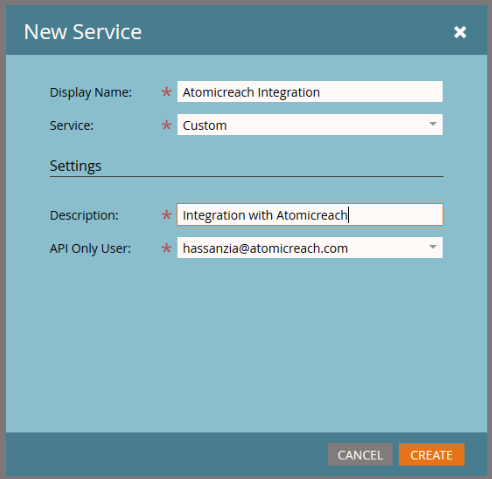
5. Click Create
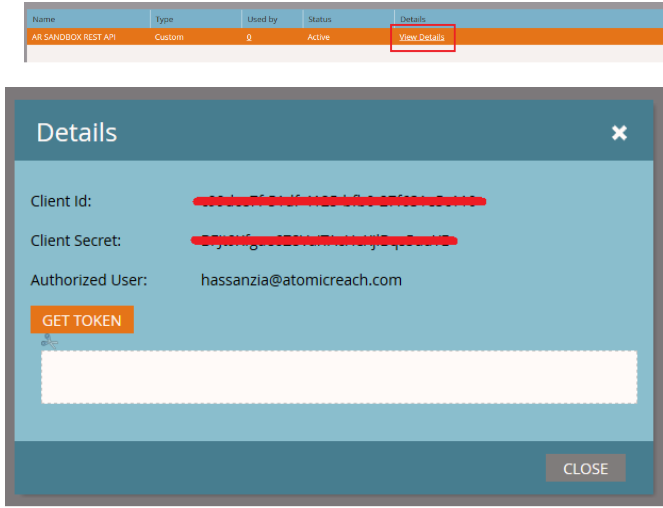
1. In Marketo, click View Details for the New Service that you just created and copy your Client ID and Client Secret
2. Navigate back to Admin
3. Click Web Service
4. Scroll to Rest API and copy the Endpoint
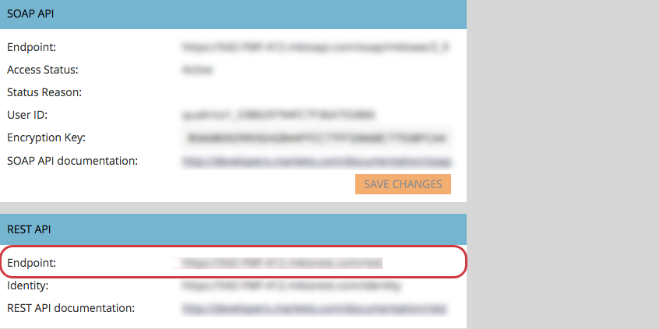
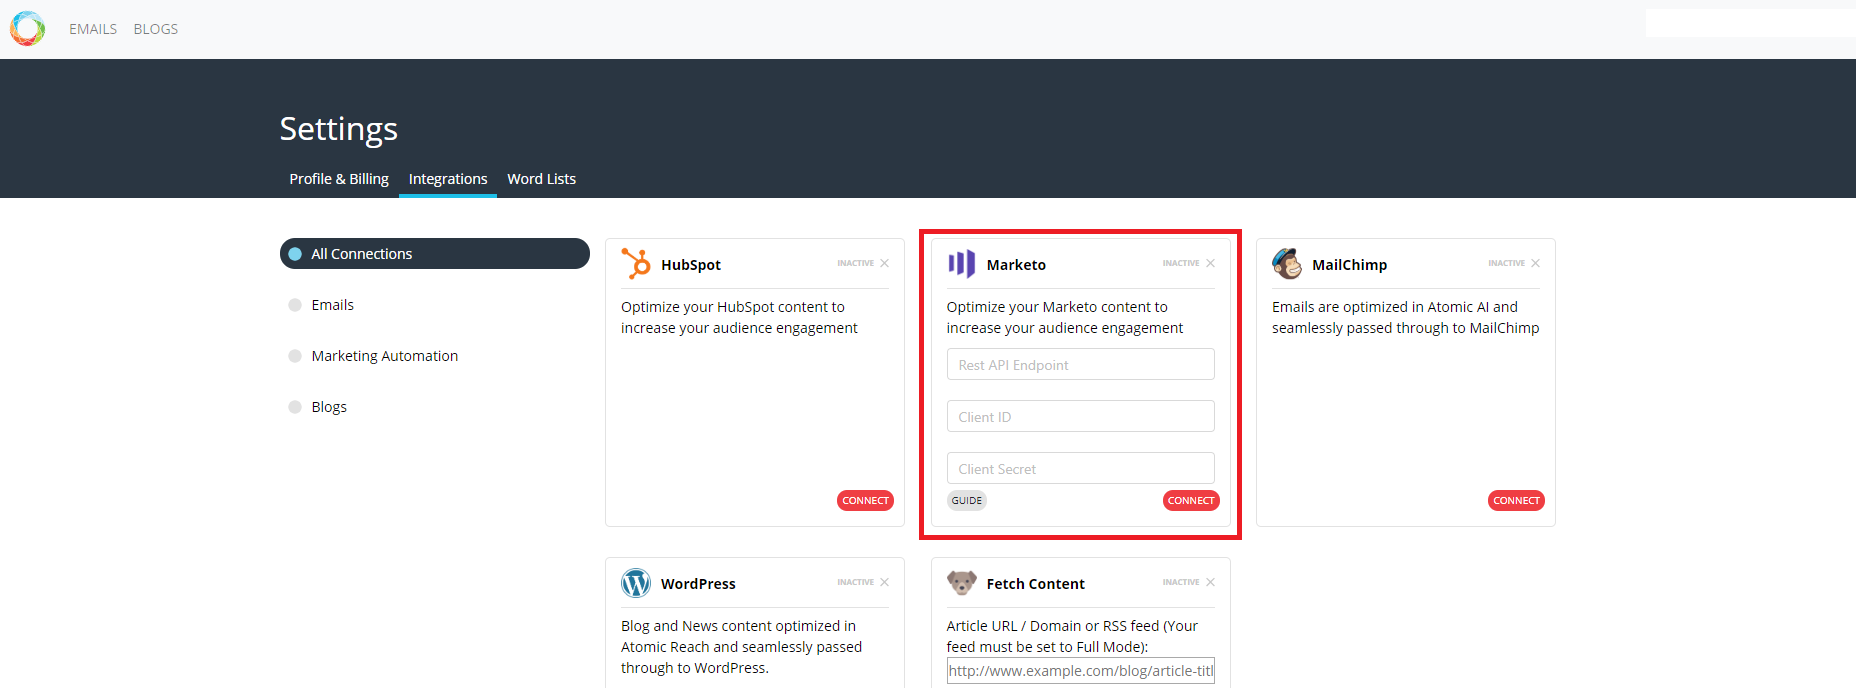
5. In Atomic Reach integration page, paste the data for all three of these requirements:
a. Rest API Endpoint URL
b. Client ID
c. Click Connect
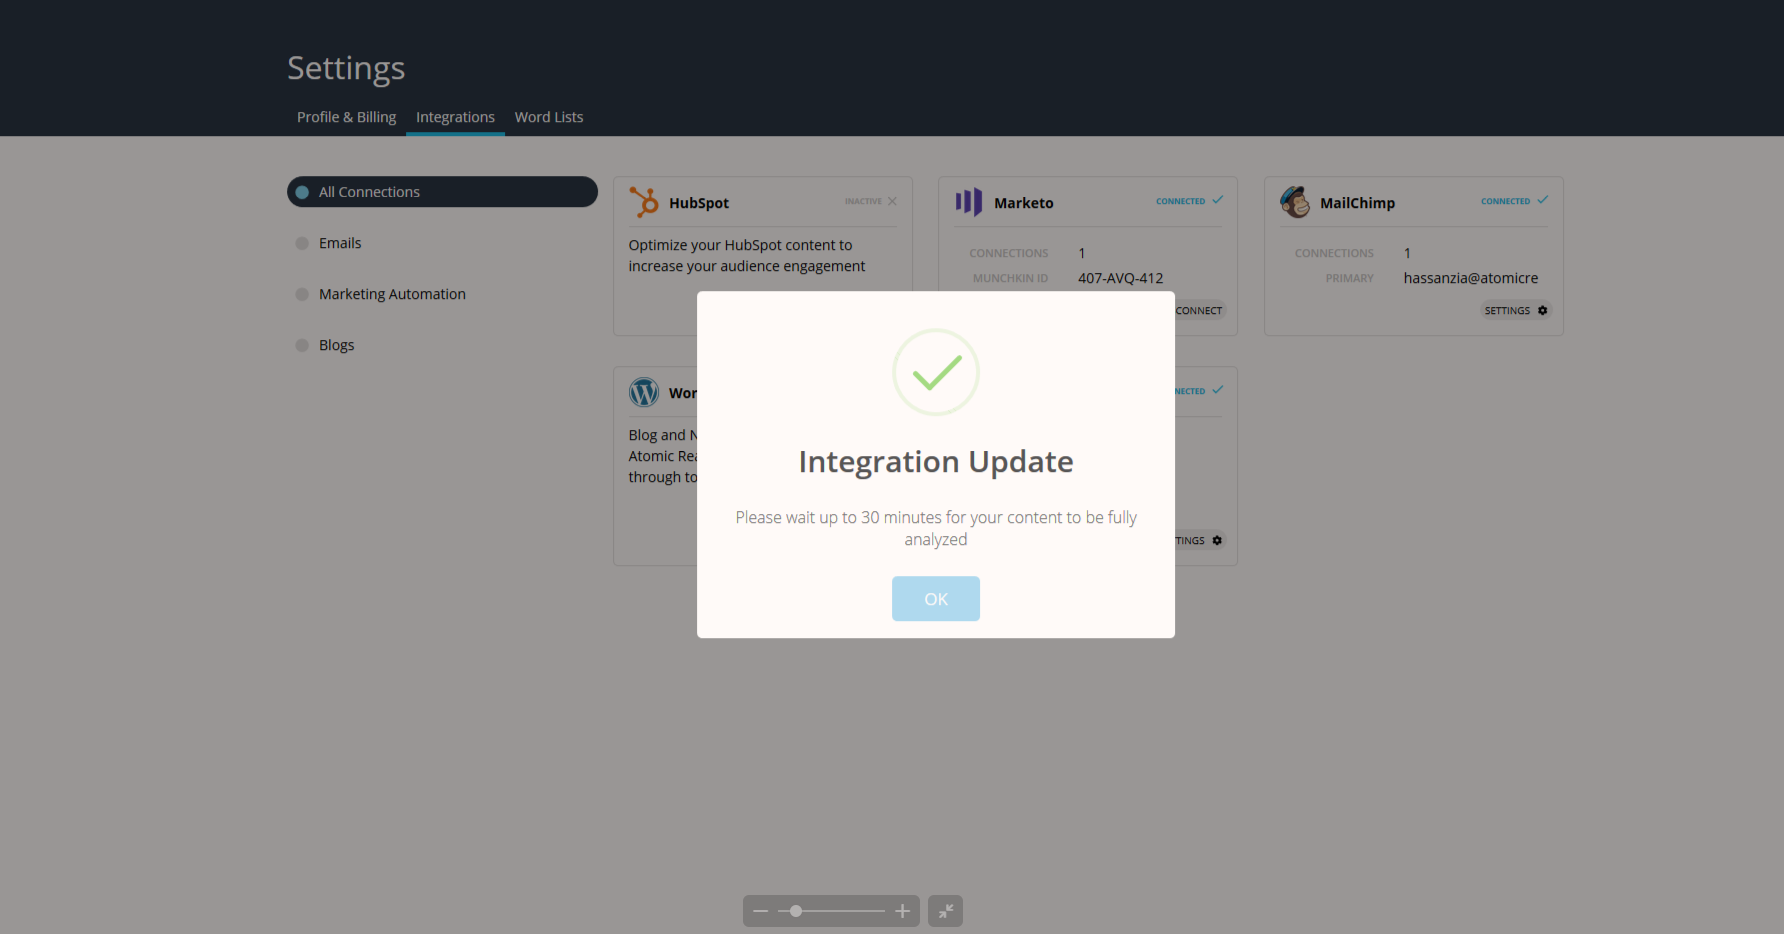
7. Atomic Reach will validate and confirm the integration with a Success pop up and display Connections and Munchkin ID
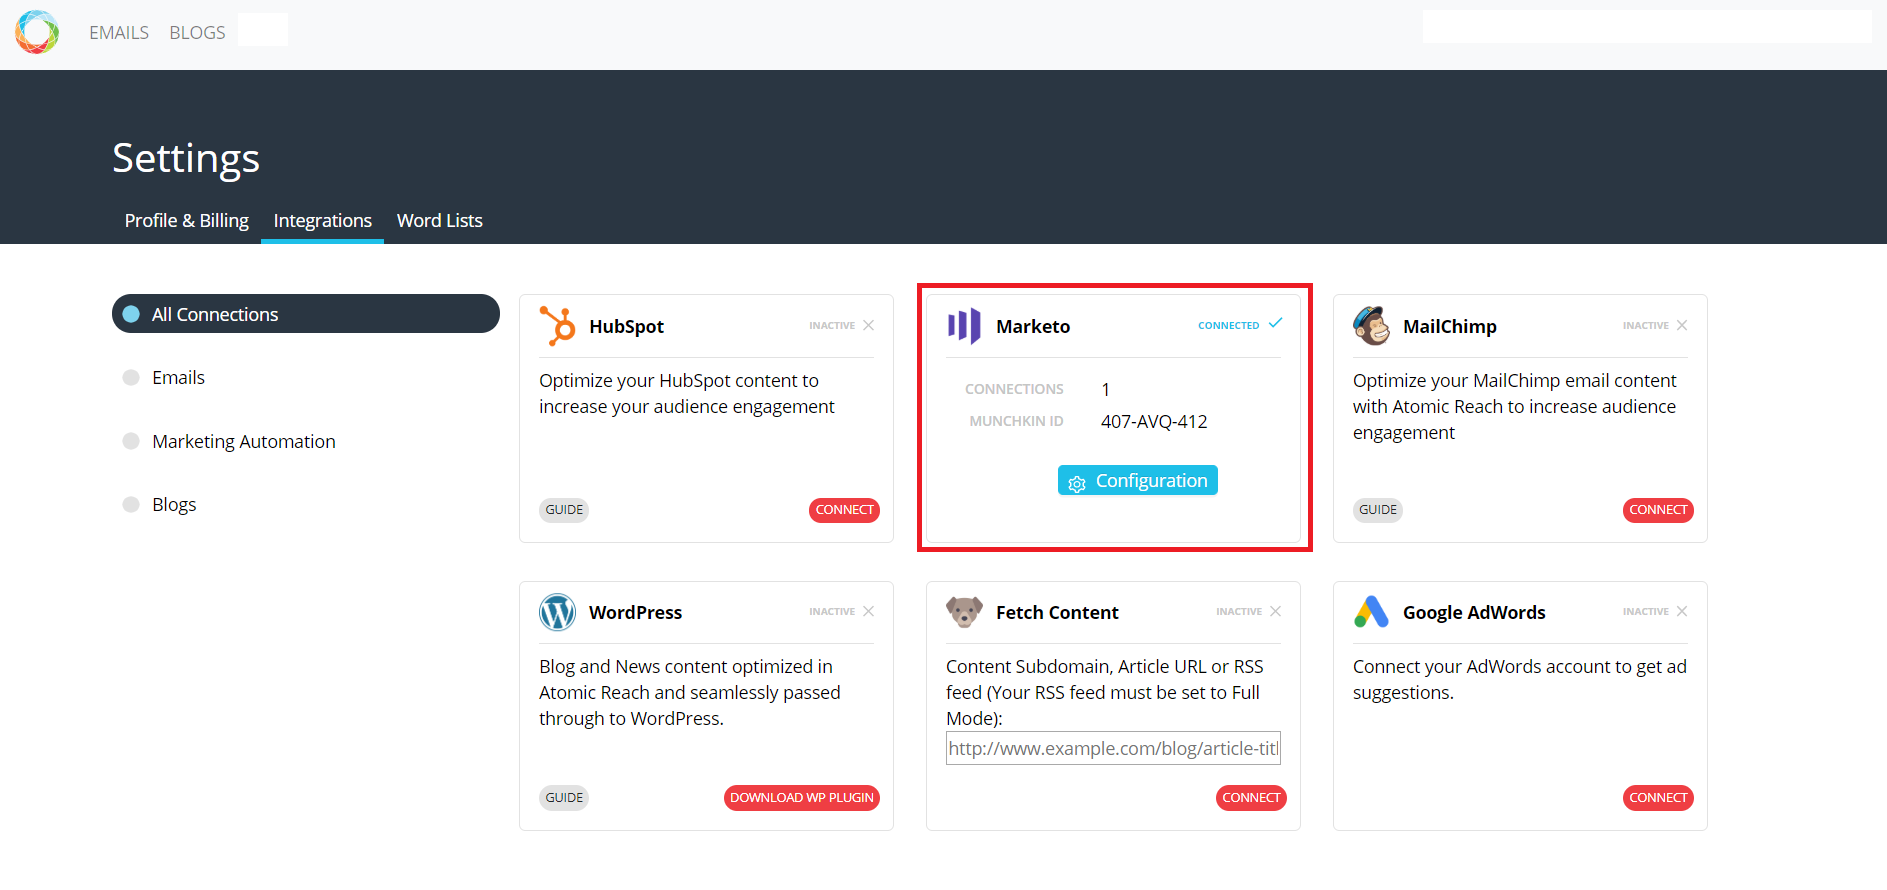
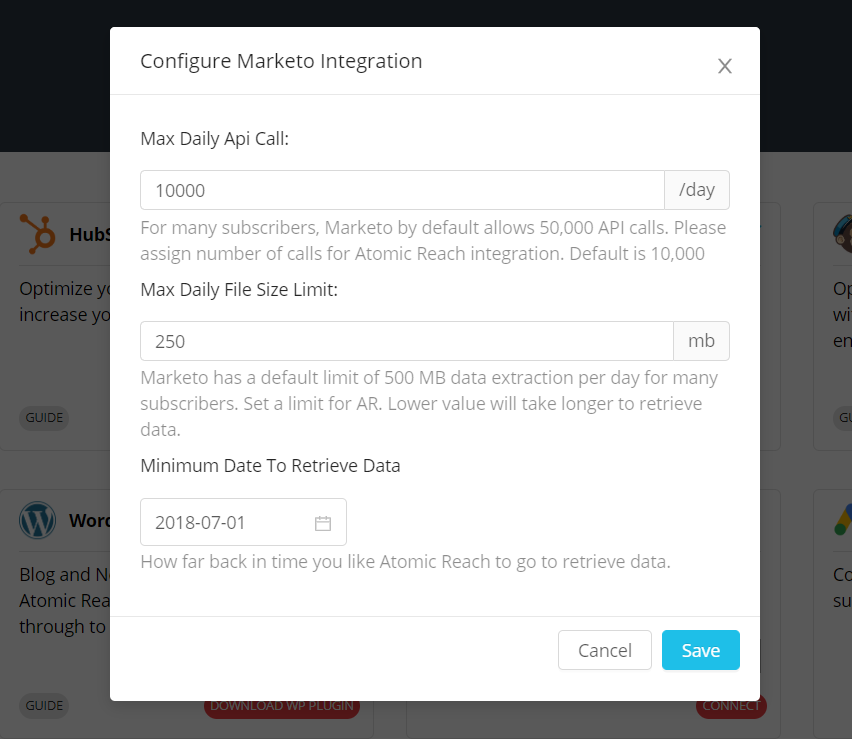
8. Click the blue "Configuration" button to set API parameters for the integration. If you change any of the default limits, make sure to click the 'Save' button.
9. Depending on the configuration of campaigns and volume of emails, generally it can take up to 24 hours for Atomic Reach to ingest your data.
If you are experiencing issues with your integration, please reach out to support@atomicreach.com and we'd be happy to help you resolve this issue.